(Pete's workshop is at the bottom of the page.)
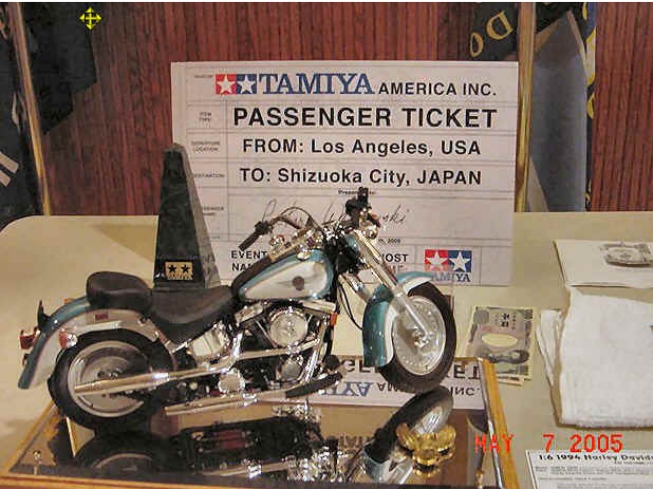
Our own Peter Wisniewski had the honor to win the Tamiya Master Modeler Award in April 2005 for his stunning 1/8 scale motorcycle. Pete received an week's trip to Japan, all expenses paid by Tamiya. Here is a link to some of the pictures he took while at the Tamiya show and another link to the Tamiya website with some more pictures of Pete's awesome bike.
Tamiya show
Tamiya article
Last updated 2018/12/8
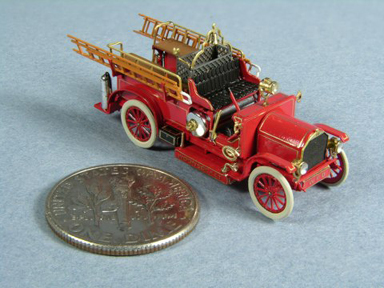
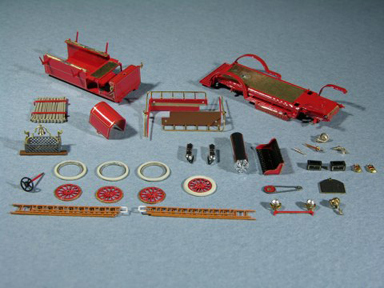

Here are some photos of Pete's 1914 Knox Chemical fire engine built from the Micron Art kit. The model is in 1/160 (N) scale.
Here are some details of how I built this kit:
Some of the kit's flat pieces were replaced with a 3-dimensional brass parts turned on a lathe.
I turned the bell, horn and siren from a 1/16" brass rod. I also turned a water nozzle from that same brass rod. Nozzle was attached to the right running board.
Fire extinguishers were turned from from 0.060" styrene rod. I used a 0.010" brass wire (painted black, with a brass tip) for the extinguisher hoses.
Headlights were turned from a styrene rod. Then I glued a tiny slice of rectangular styrene on top of the headlights to simulate vents. Headlights were attached to the brass brackets using 0.006" brass wire. Lenses and reflectors are modified MV lenses. I ground and polished them to have flat faces.
I also drilled through the front side lanterns and then filled the hole with a dab of clear red paint to simulate red lenses.
Running board toolboxes are made from couple of pieces of a 0.060" square styrene stock painted black.
I also replaced the photo etched folded hose with a piece of 0.010" X 0.030" flat brass wire which I folded to make it look like a hose. I also made hose connectors from small slices of thin-wall brass tubing turned using a Dremel tool and a file.
I drilled out the steering wheel hole in the floor to accept a piece of brass tube. That tube provided a solid attachment point for the steering wheel shaft.
I also drilled out three additional holes in the floor for pedals made from flattened 0.008" stainless steel wire.
Kit was assembled by soldering some of the major components and using 5-minute epoxy for the remaining assemblies.
Brass tire halves were soldered together and the inside and outside edges were filed round to look more like real tires. Also the wheels would not properly seat in the tires so I ended up enlarging the tire's inside diameter using a rattail file. They were painted Floquil Antique White as most tires from that period were natural rubber.
Majority of painting was done using Tamiya clear metal primer and Scalecoat II AT&SF red paint. I also used Scalecoat II loco black. Headlights were painted using Alclad II Pale Gold. Extinguishers and chemical tank were painted with Alclad II Chrome over gloss black. Fire hose, benches and ladders were painted with various Floquil and Testors paints.
The pin striping was done using custom waterslide decals. I designed and printed them on an Alps printer which is capable of printing gold. Decals were applied to the subassemblies and clear coated.
This is a very well designed kit which was a pleasure to build. It was built over a period of about 6 months but it was one of several projects I was working on, so it didn't actually take 6 months to build.


Here are three models from Gunze Sangyo's "the '50s - '60s collection".
Even though these curbside models are modeled in smaller (1:32) scale they still have plenty of finely molded details. They all seem (at least to my eyes) to have correctly-shaped bodies. Most of those models also include those outrageous continental kits which were all the rage in the '50s! Overall, these are very well molded models which are pleasure to build. The cars from that series I have built so far are 1957 Cadillac Eldorado Seville, 1959 Cadillac Eldorado and a 1959 Ford Skyliner. I also have few more cars from that collection to be built at some later date.
1957 Cadillac Eldorado Seville is painted with Testors paints. This was my first model where I used Bare Metal foil. I also added partially open side windows. I just used pieces of clear styrene. I used strips of BMF to create thin chrome frames around the windows. Horn ring in the steering wheel was replaced with a ring from 30 gauge wire. I also used stainless steel wire and telescoping hypodermic tubing to construct antennas for all three models. I made them removable for transport. This is such a classic late '50s car. Check out the front bumper. Holly Dagmars!
1959 Cadillac Eldorado is painted with Testors paints. This one includes parts to be built either as a convertible or a hardtop. I still have another unbuilt kit which I will build as a hardtop. As you can see, this model did include a continental kit which makes this huge car even longer! And look at those tall fins with the famous bullet-tip taillights!
This 1:32 scale 1959 Ford Skyliner has a retractable hardtop just like the 1:1 car! This was the only ill-fitting part of this kit. I needed to shorten the folding front roof piece by about 1/16". Of course I didn't realize that until after the kit was painted! Gentle surgery with a hobby knife and lots of luck resulted in a properly fitting roof. I again used Testors paints but the green is a mix of green and white paint to get that '50s green color. I again replaced the horn ring with a thin wire ring and added a radio antenna. Other than that this kit was built stock. Of course this model also includes a continental kit with is even wider and longer than the one in the 59 Caddy! I chose not to use chromed rear wheel covers. It was just too much chrome, even for me!

This is 1:8 scale model of a Harley Chopper by Revell of Germany. This was my first model of a motorcycle. Instead of using kit's "stars and stripes" decals, I masked and painted the gas tank using Testors paints. It has a pearl white finish over white primer. The stripes are candy apple red and the blue is transparent blue. Using transparent paints allows the pearl base to reflect through the colors. Stars are kit's decals but applied individually. Other than the paint, the kit is mostly built stock. I recall using Bare Metal Chrome Foil to touch up the chromed parts. The multi-piece exhaust system fit together very poorly. I simulated heat staining of the exhaust with some light airbrushing of clear blue and red paint. Front suspension spring has a flat black wash to bring out the spring coils. Kit did not include the air filter so I made one from a piece of clear acrylic, shaped like rounded-off triangle. I then wrapped some fine stainless steel mesh over it and also used a piece of aluminum duct tape for the back of the filter. I also added some yellow tubing for spark plug wires and clear tubing fuel line. Throttle and clutch linkages use tubing supplied with the model.

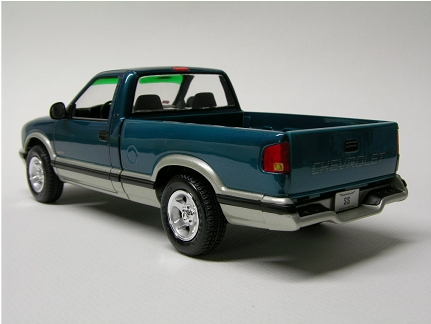
This is a model of Chevy S-10 small truck. Model kit was made by AMT. It is one of the very few models which I built box-stock. It is painted using Testors enamels. Body colors are Colors by Boyd Chezoom Teal metallic over Pacific Blue undercoat and German Silver. I used gold Bare Metal Foil on the bow-tie emblem on the grille. After I assembled this model I could not get all 4 wheels to squarely sit on the ground. To fix the problem I ended up sanding the bottom of one of the front tires.
Click here for photos of Pete's incredible Peterbilt wrecker.

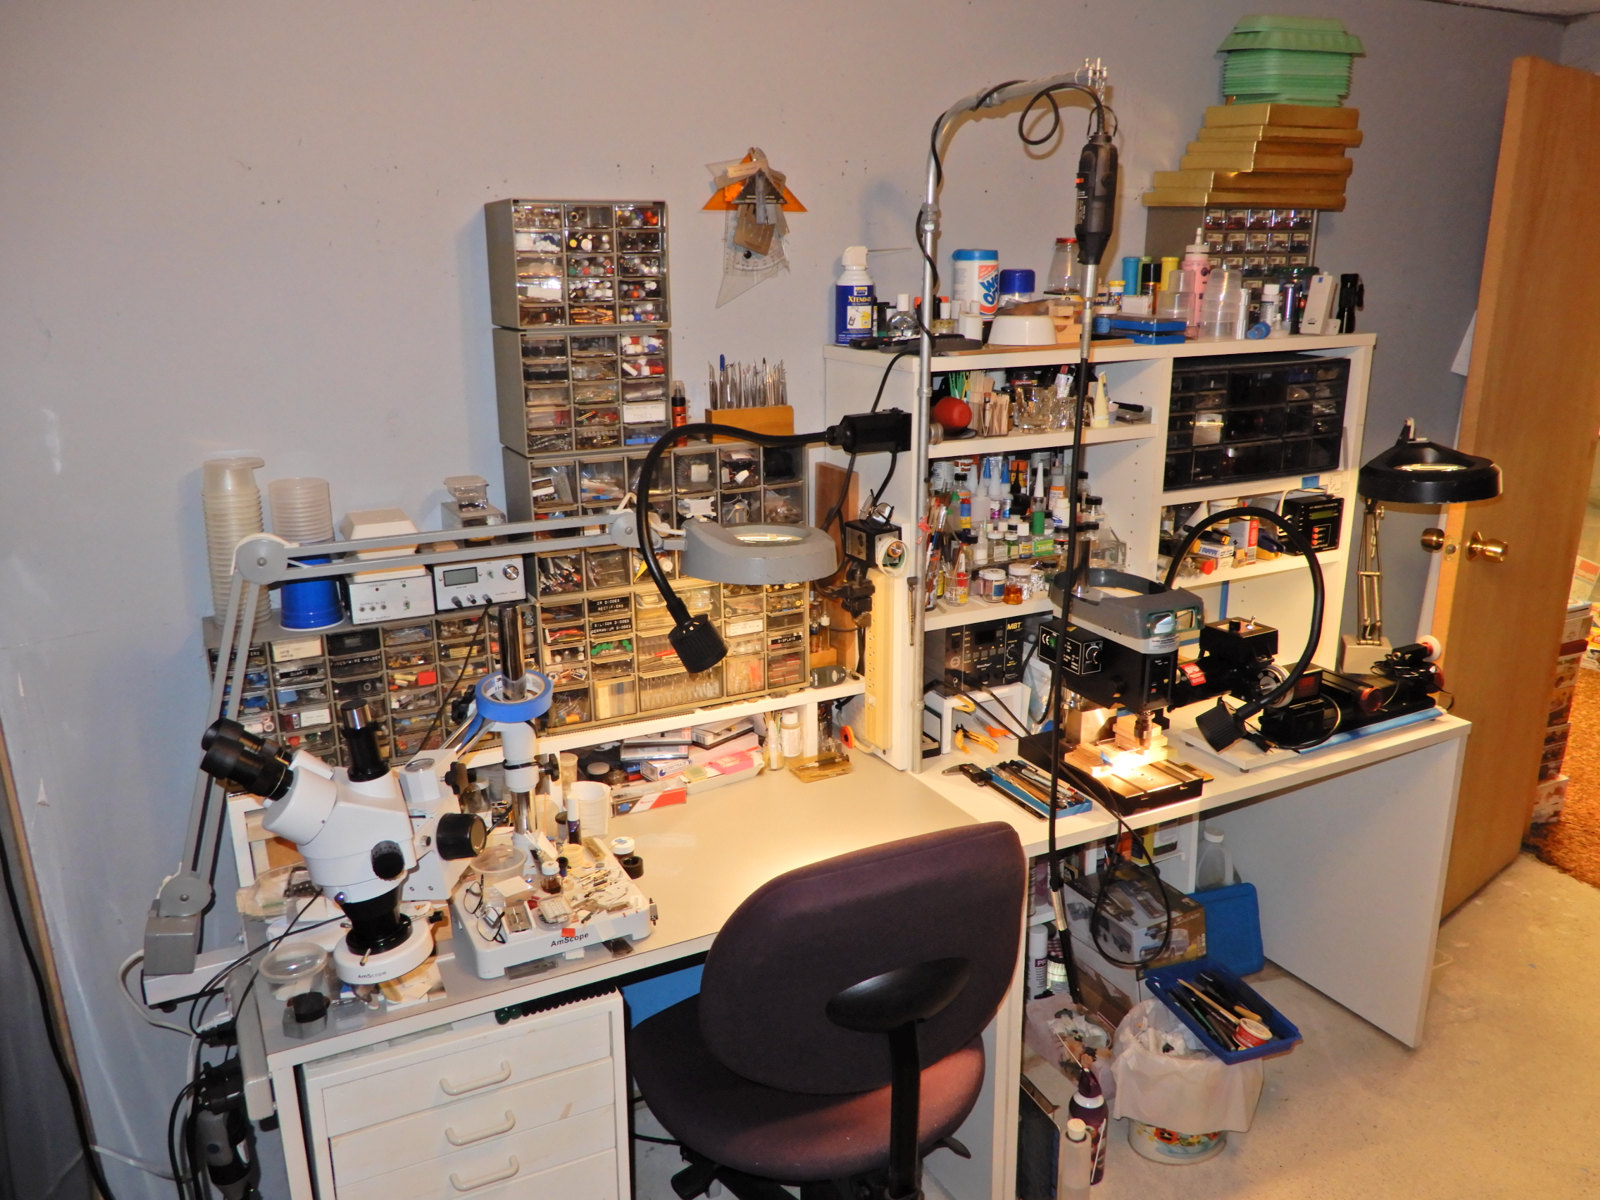
Peter Wisniewski's modeling workshop. The right bench houses his drill press and a lathe. There are also two bright lights illuminating it: a fluorescent magnifier lamp and a small halogen goose neck lamp.
The left bench is his main workspace. On the left is a stereoscopic microscope (turned to the side). This bench also has a pair of lamps, again a fluorescent magnifier lamp and a halogen goose neck lamp. The microscope also has its own fluorescent ring light. Bright lighting is vital for miniature work.
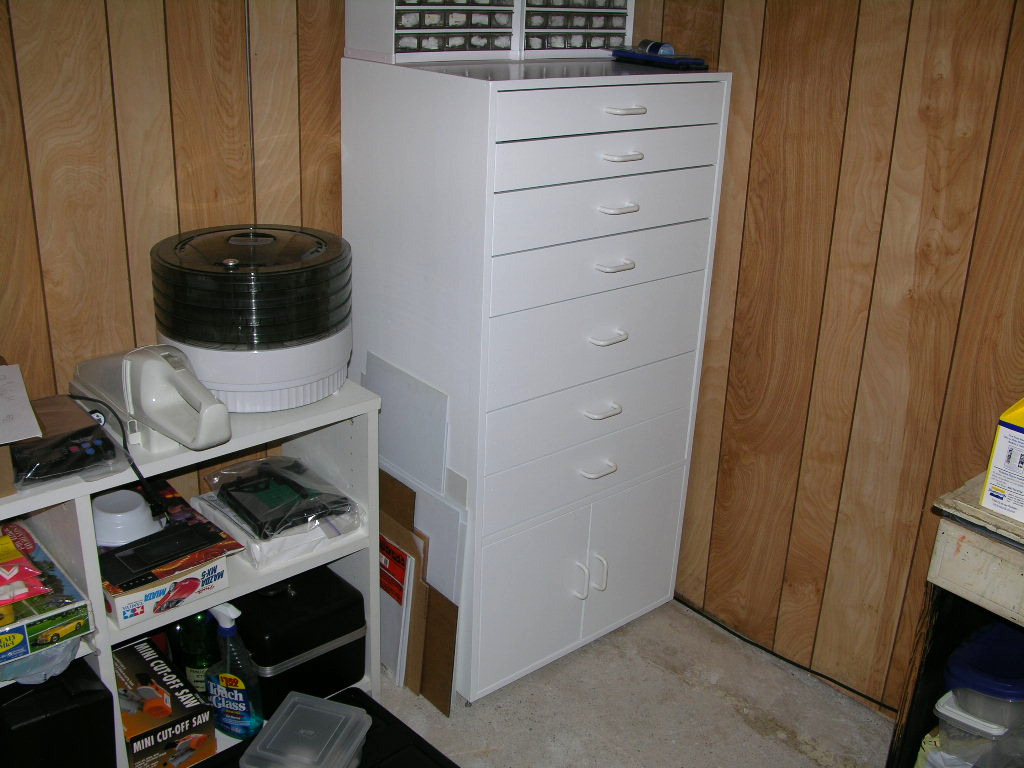
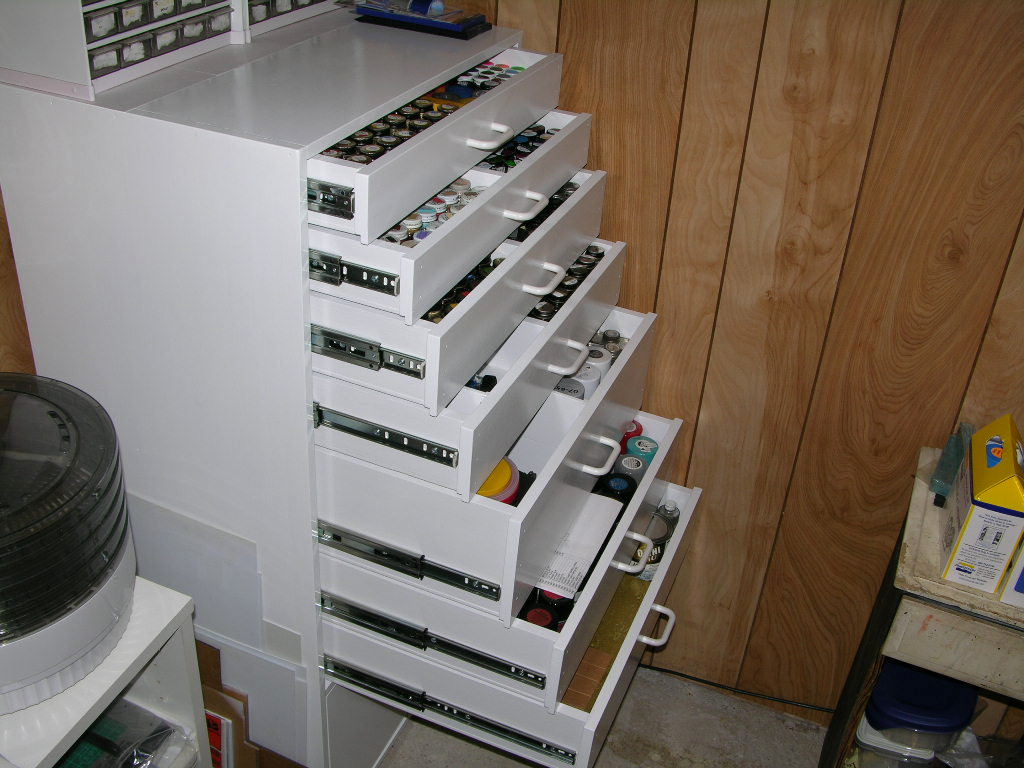
The three photos below show his paint cabinet. He built it himself and it houses most of his quite large collection of paints and adhesives. The dehydrator is also visible on the shelf left of the paint cabinet.
The left bench is his main workspace. On the left is a stereoscopic microscope (turned to the side). This bench also has a pair of lamps, again a fluorescent magnifier lamp and a halogen goose neck lamp. The microscope also has its own fluorescent ring light. Bright lighting is vital for miniature work.
The three photos below show his paint cabinet. He built it himself and it houses most of his quite large collection of paints and adhesives. The dehydrator is also visible on the shelf left of the paint cabinet.